📖 Articles and webpages
Highlighting
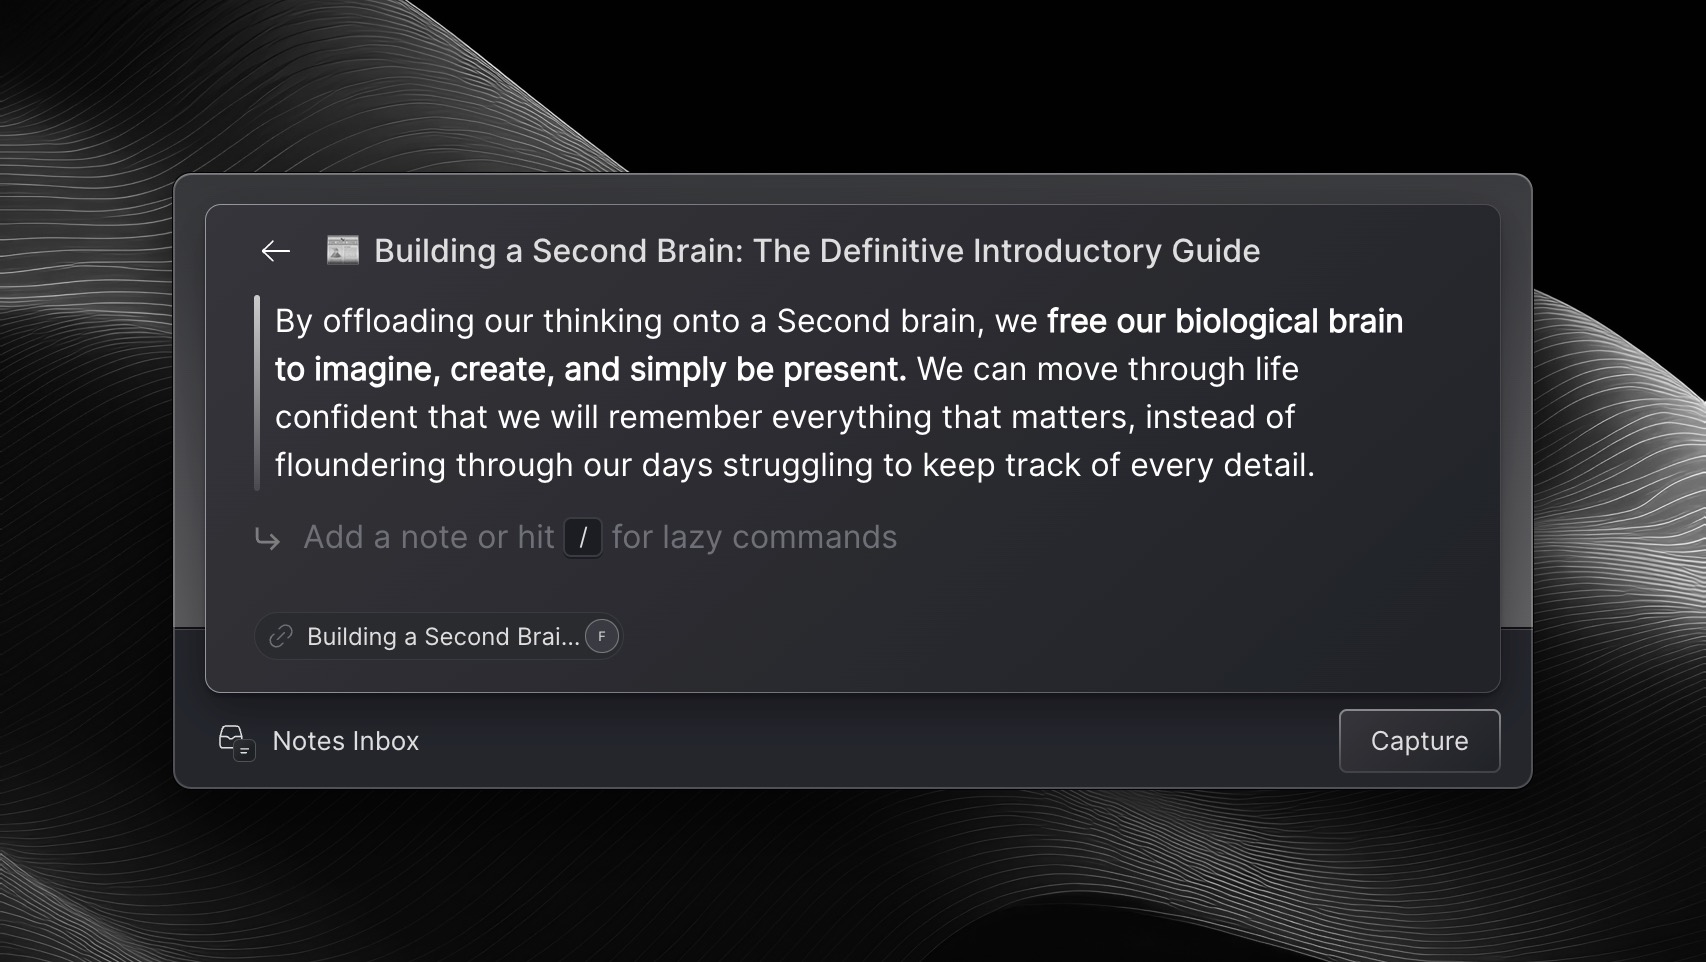
In order to highlight text on top of articles, simply select the text you’d like to highlight on a page, and then click ⌘+L.
Lazy has already automatically captured the following:
The text you highlighted on the article
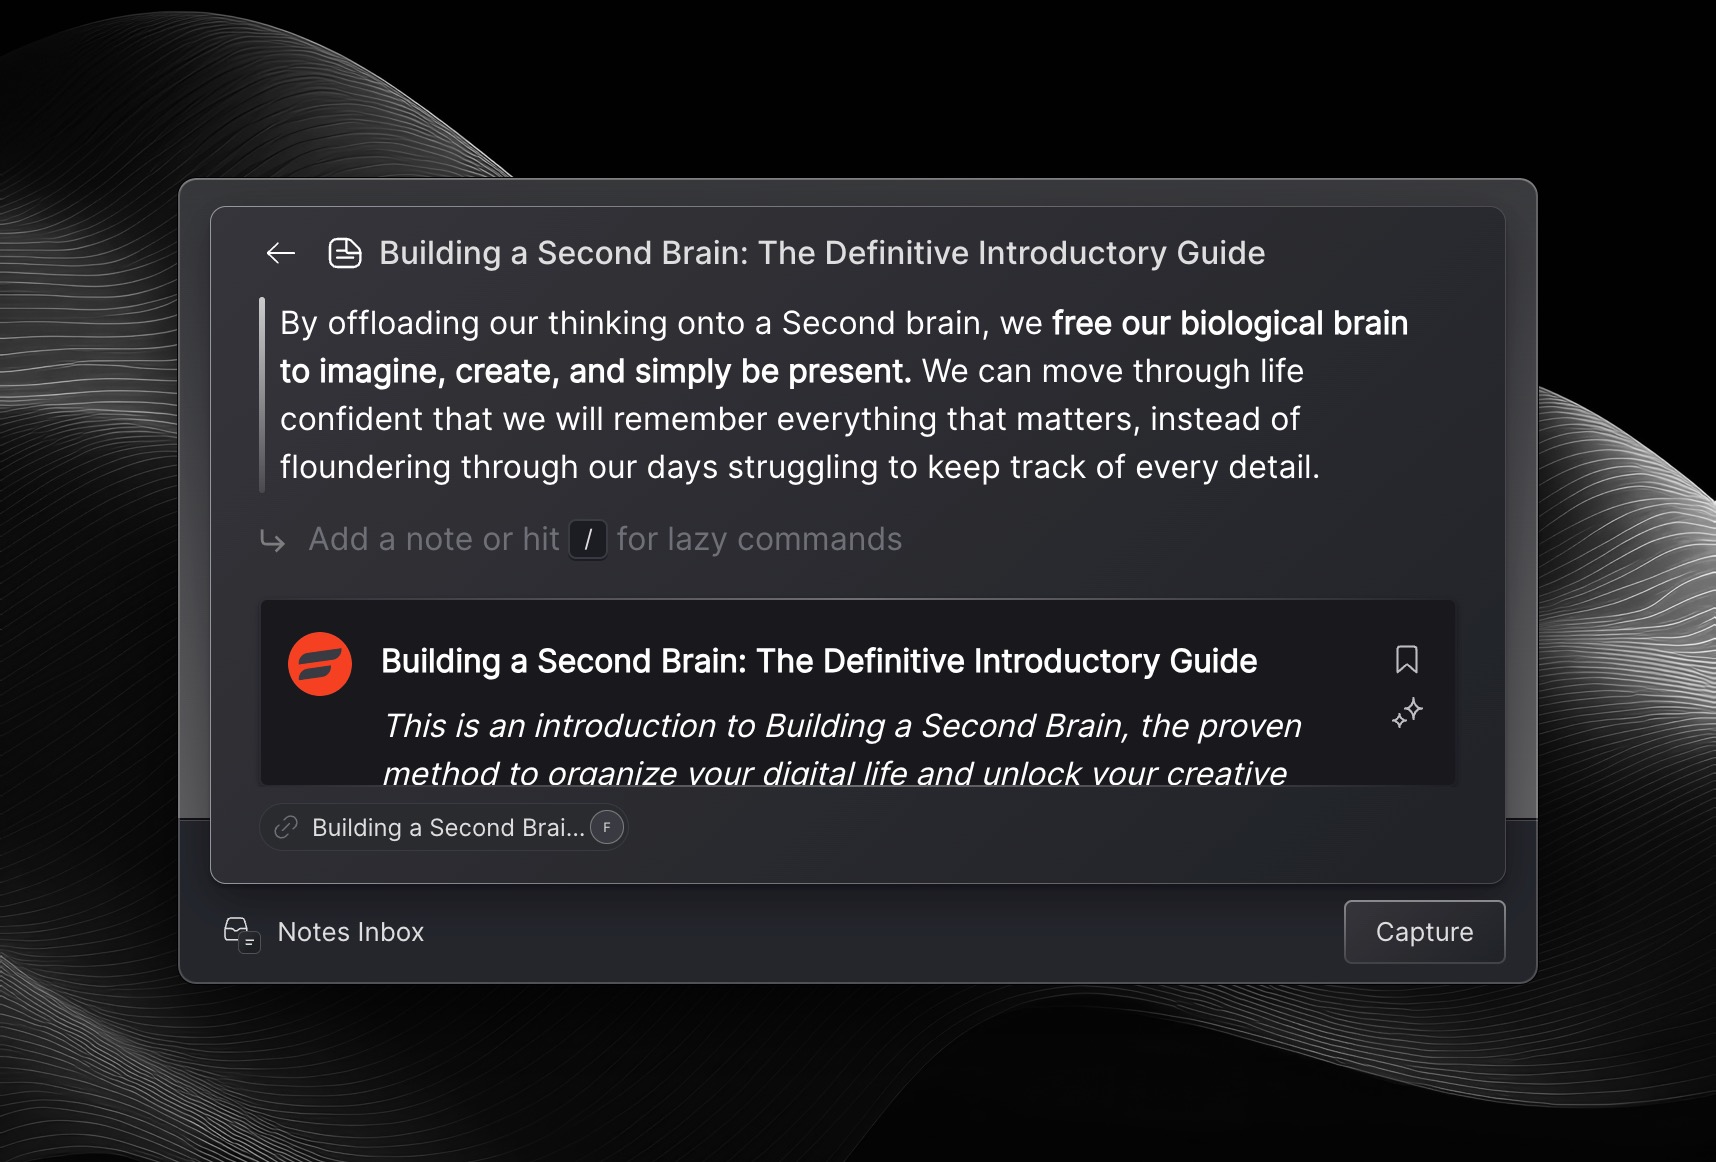
The Context of the article you were on. Namely the Source and Author of the article you captured. You can see this displayed at the bottom left of the launcher, just above where it shows ‘Notes Inbox’.
When highlighting, you’re able to add your own notes to your highlights.
Multi-highlight captures
With Lazy, you’re able to capture multiple highlights on top of the same content.
After making your first highlight, simply select another block of text on the page you’d like to capture and then do ⌘+L again. All subsequent highlights will be added to the same Note where your first highlight was captured.
Clipping
Clipping an article enables you to capture the entirety of the article from the web and formats it nicely in to your note in Lazy. This will preserve all of the text, formatting and images from the article into a beautifully crafted note in Lazy.
We recommend doing this, to provide you with a broader body of content to search for, and allow you to continue to take notes and highlight inside of Lazy.
After doing /clip, you’ll see a preview of the entire article shown inside of the Lazy capture window. This confirms the article has been successfully clipped.